Disclosure Snail says: The products featured in this post were provided to me for unbiased review by Glow Recipe. You can find my rules and standards for accepting press samples in my sponsorship policy.
Do you have that one friend who’s always trying to shake things up? Always coming around with something new that you’ve got to try, always devising crazy adventures, always smashing bottles of fancy tequila and sitting on your chest dangling the worm in front of your face in an effort to make you try it, just to do something new?
Uh, Glow Recipe is like that for me, except not scary, no worms (as far as I know), and all the new things they make me try are fun and good for my skin. It is entirely their fault that I’m constantly lusting after Whamisa hydrogel masks and always debating with myself over whether I should just buy another five bottles of LJH Vita Propolis Ampoule once my last one runs out. And then they sent me these things.

Apparently a staple of the spa facial experience, modeling masks (or rubber masks, as some call them) are made primarily of the same material that SFX artists use to make molds of actors’ faces before turning them into orcs or aliens or David Bowie. (That is special effects, right?) Supposedly, they clarify the skin by drawing impurities out of pores while simultaneously delivering skin-beneficial ingredients, making for a well rounded facial treatment. Home modeling masks are gaining popularity in Asia (you’ll hear Peach and Lily CEO Alicia Yoon’s take on them in an upcoming post).
The home versions are individually packaged in disposable cups, like those pictured above. Inside you’ll find a spatula and a pile of powder. Mix the appropriate amount of water in, spread the resulting paste all over your face, wait for it to harden into a solid, rubbery mass, then peel it off and revel in your newfound glow! At least, that’s the idea.
I was so intrigued by this concept that I livetweeted my first time with it. But having a blog means having more than 140 characters a time to tell the story, so here it is, in more detail.
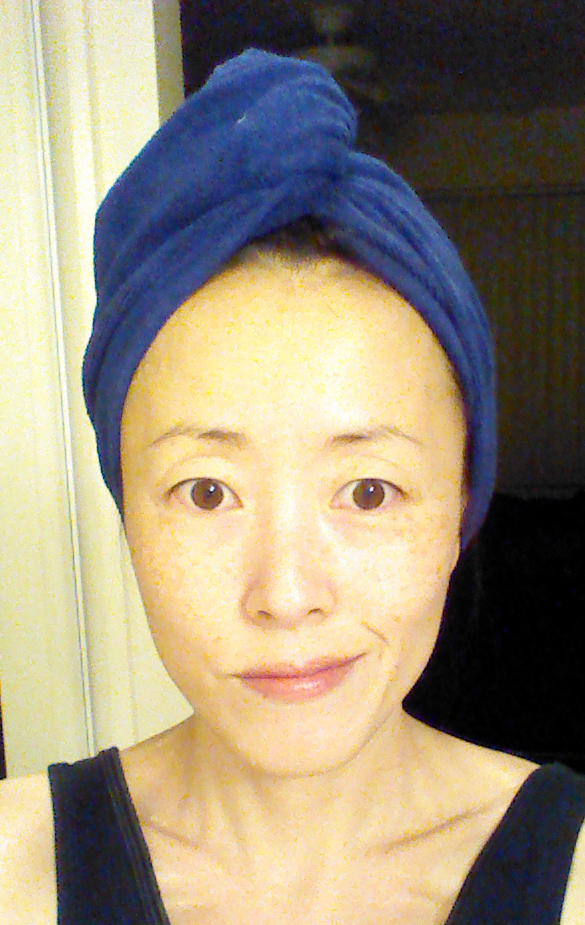
Freshly showered, face cleansed and totally bare, sans fards. I’ll have you know that it’s entirely because of K-beauty that I’m even daring to put my bare face on the Internet in the first place. At this point, you all have seen worse.

I wasn’t about to gunk up what could possibly be an amazing mask with some nasty old tap water. Even if that’s what I use to wash my face every day. Ah, shit. I do wash my face with nasty old plain tap water, don’t I.

The flat end of the big spatula is intended to help spread the mask evenly, and the size of the spatula is nice for mixing the mask up.

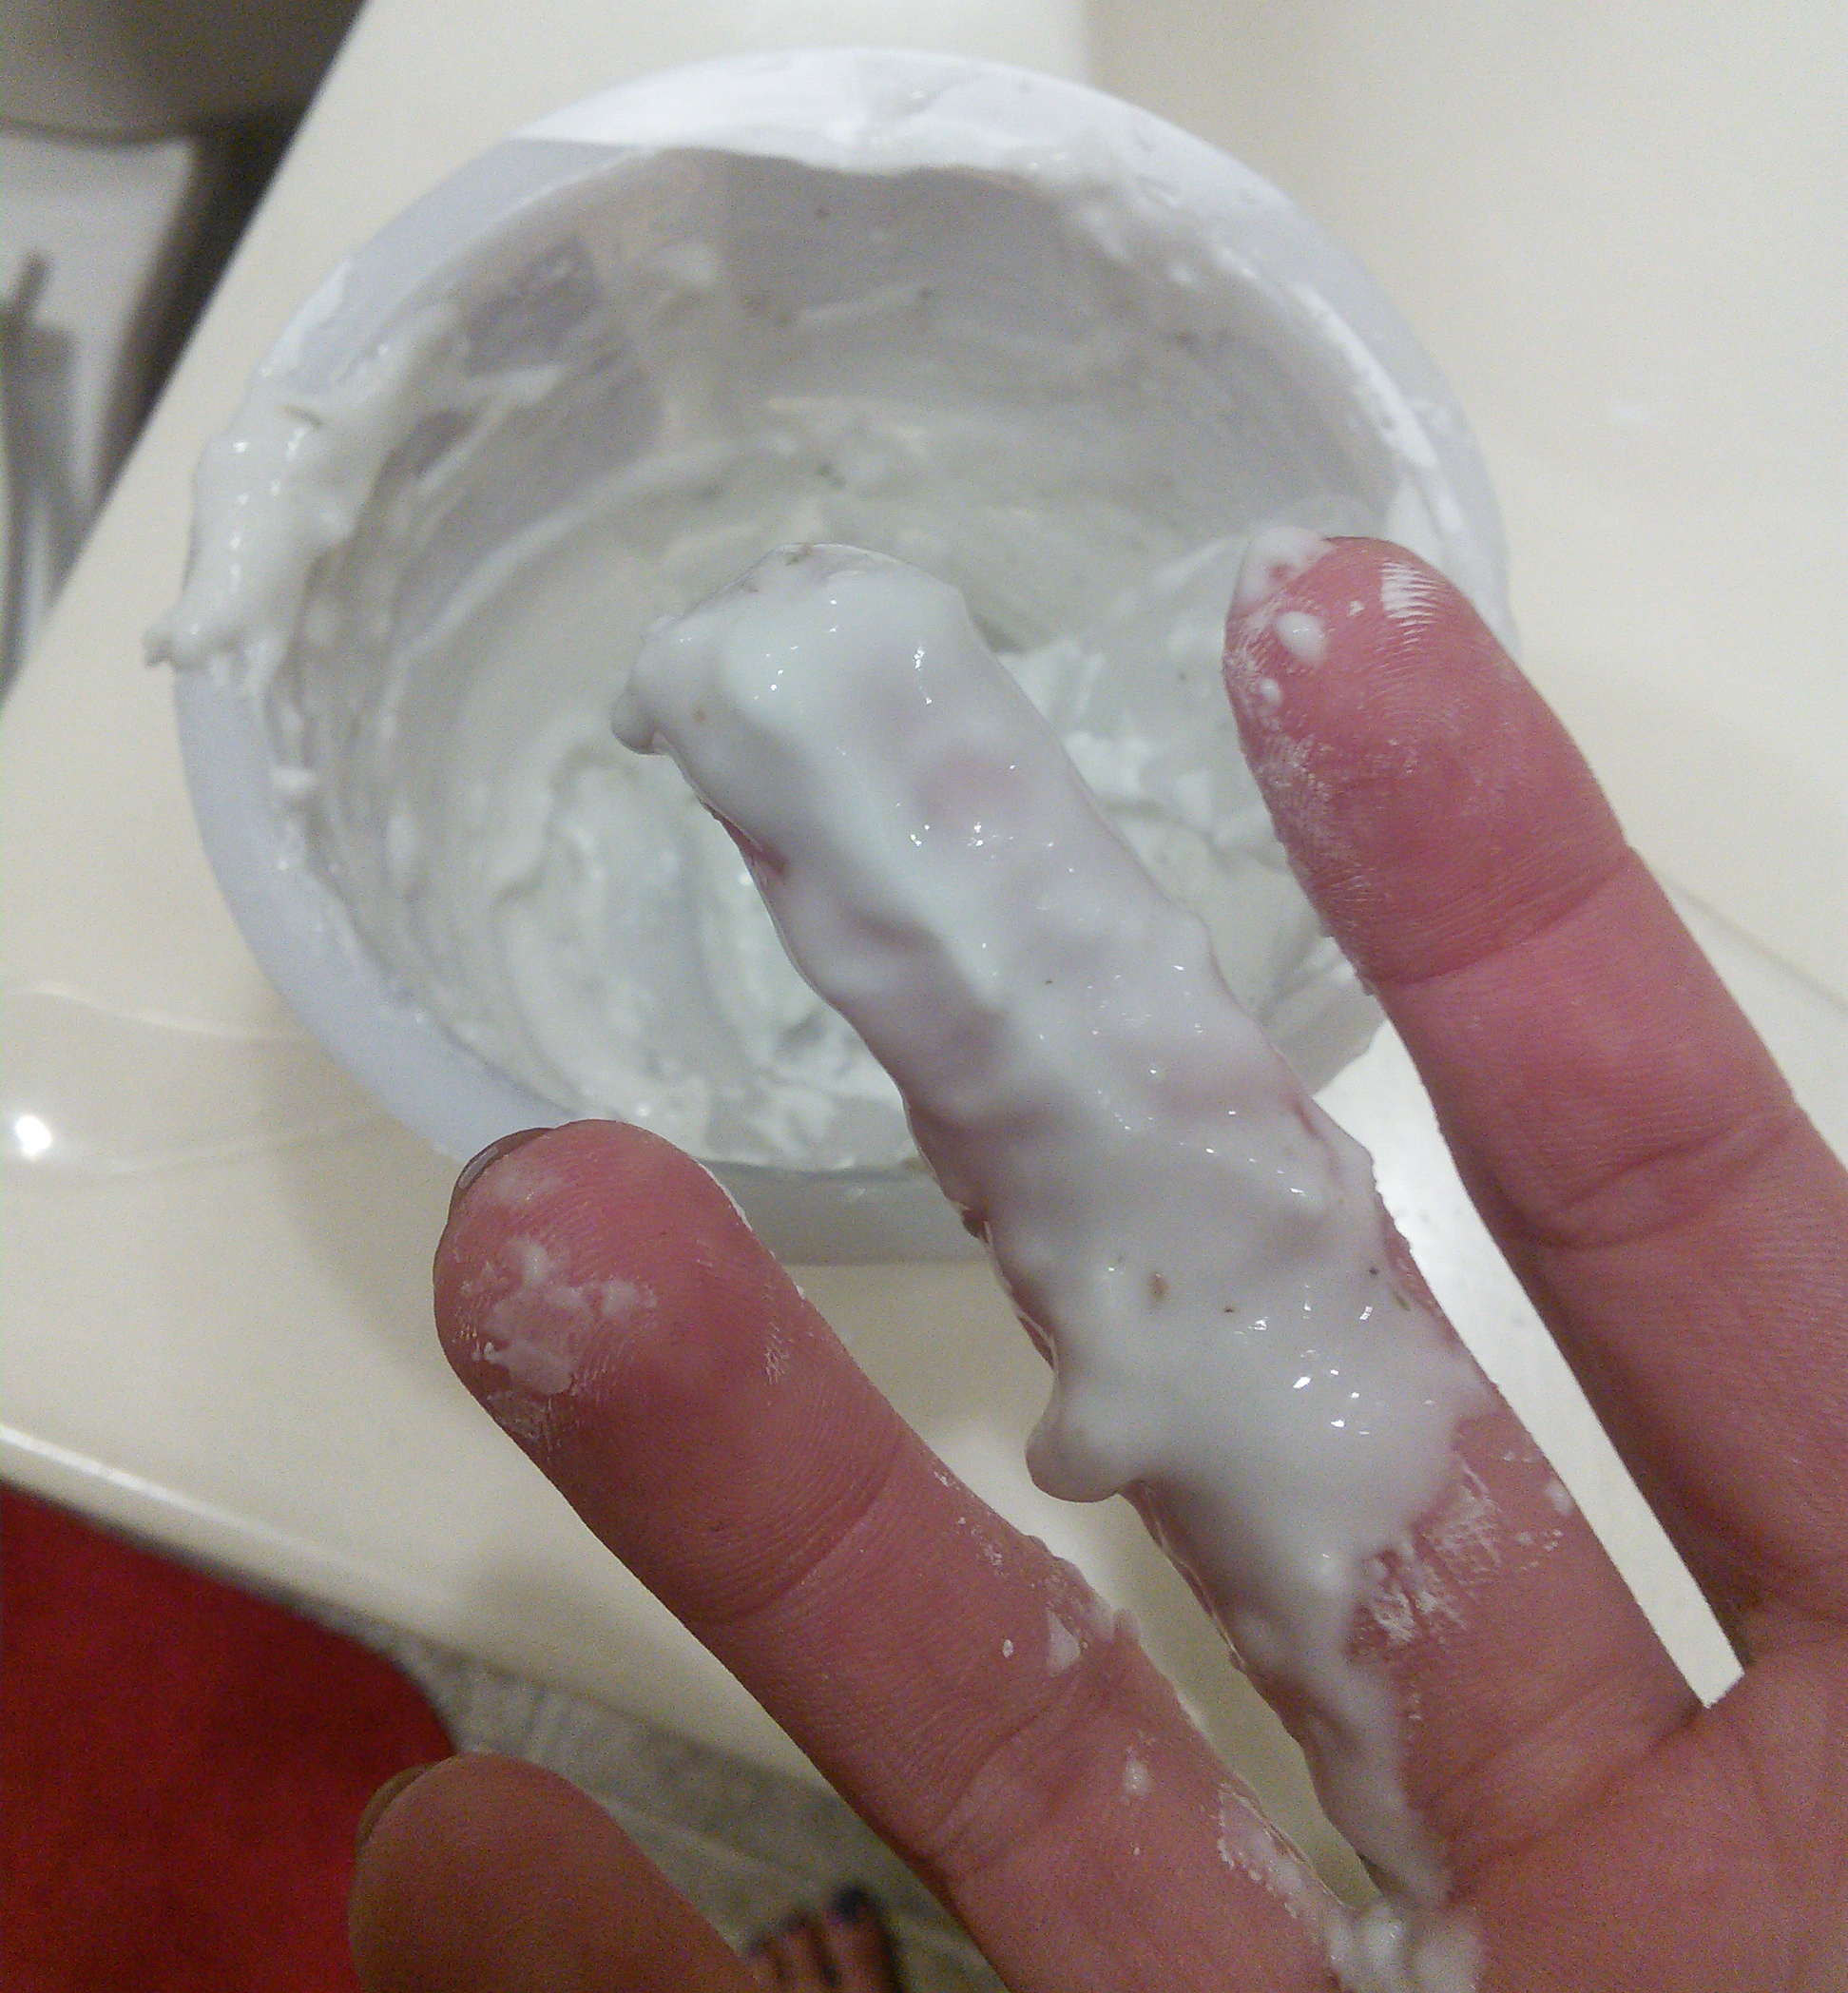
You add water to the line on the inside of the cup, a process which reminded me strongly of making noodle cups. The little dark flecks floating around aren’t soup seasonings, though, but rather little herbal bits that will soon be seasoning my face.

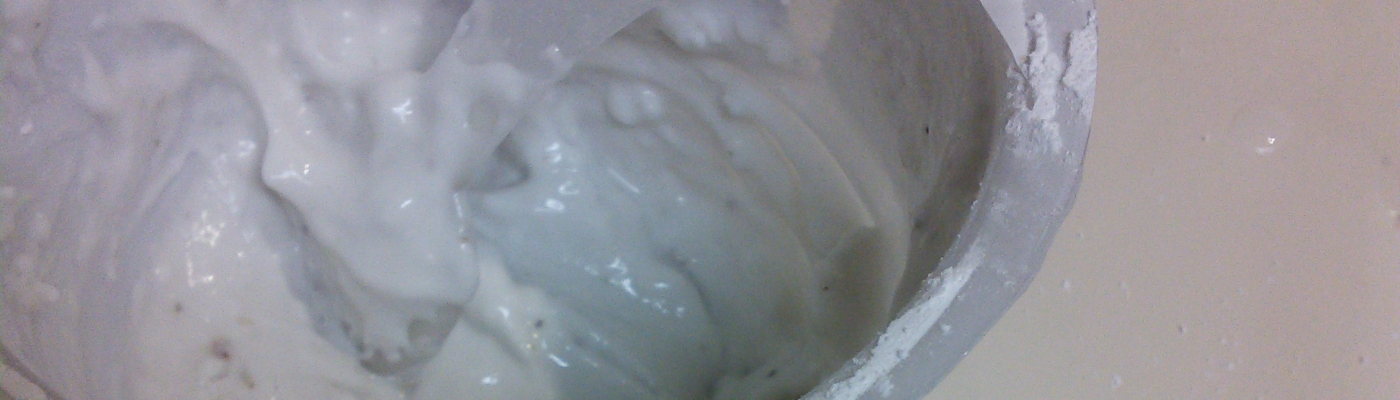
Mixing the powder and the water results in a generous amount of a thick, whitish paste. At this point, I noticed that it smells vaguely of Comet. Yes, the Comet that you might use to scour your bathtub. It has that sharp, fresh, detergenty smell, overlaid with a hint of lavender. It’s a little unnerving, though not entirely unpleasant.

Before I used the Lindsay Lavender Modeling Mask, I asked Glow Recipe (via their Twitter) whether they had any tips for making the most of the experience. Glow Recipe’s Twitter account recommended applying a thin layer of serum first, so I slapped on some Honey Bomb (review coming soon!) and let it sink in. Then I got down to business.
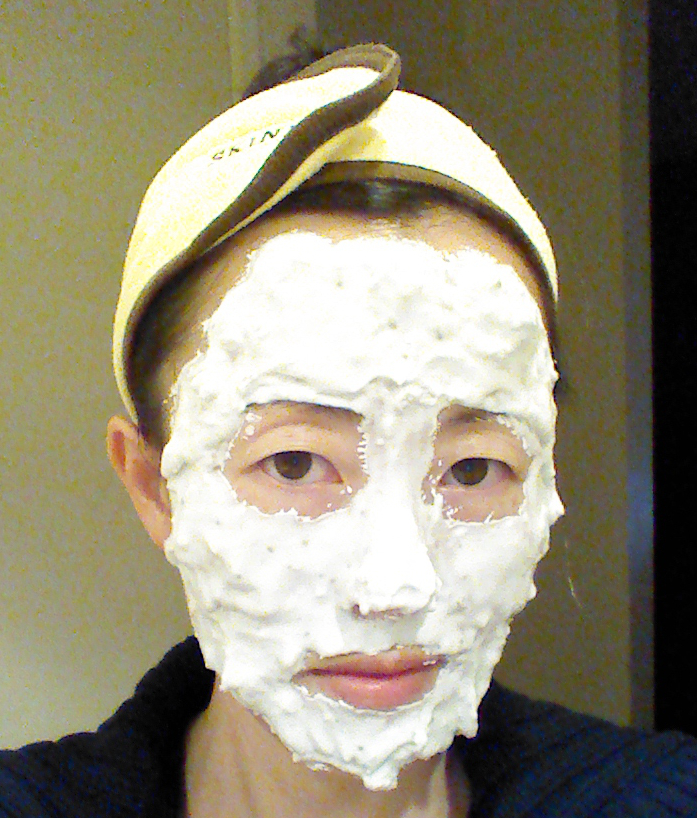
I had a lot of trouble applying the mask with the spatula. Instead of distributing the product evenly over my face, the spatula tended to shove it around in lumps. To be fair, this was probably more due to my complete lack of coordination than it was to any spatula design flaw. Anyway, I gave up and just used my hands to apply. I made a mess, but I did manage to get all of the paste onto my face more or less evenly. I even applied it more thickly at the edges of my face, as recommended for easier removal.

Though the paste is a little drippy at first, it begins to harden quickly, keeping your clothes and furniture and floors safe. It’s an interesting sensation. As the mask firmed up, I could feel it tightening my skin and, eventually, beginning to pull loose on its own.

You only need to wear the mask for about 15 minutes. The time passed quickly for me. Before I knew it, the mask was solid and dry to the touch, the timer on my tablet beeped (way too loudly), and I was ready to take it off.
Unfortunately, I failed to startle anyone besides Mr. Crazy Snail Lady, who, like you, has already witnessed much worse anyway. At this point, seeing me pace around with a thick, lumpy white rubber paste on my face is pretty much a normal Friday night for him. Listen up, youngins: this is love. This is commitment.
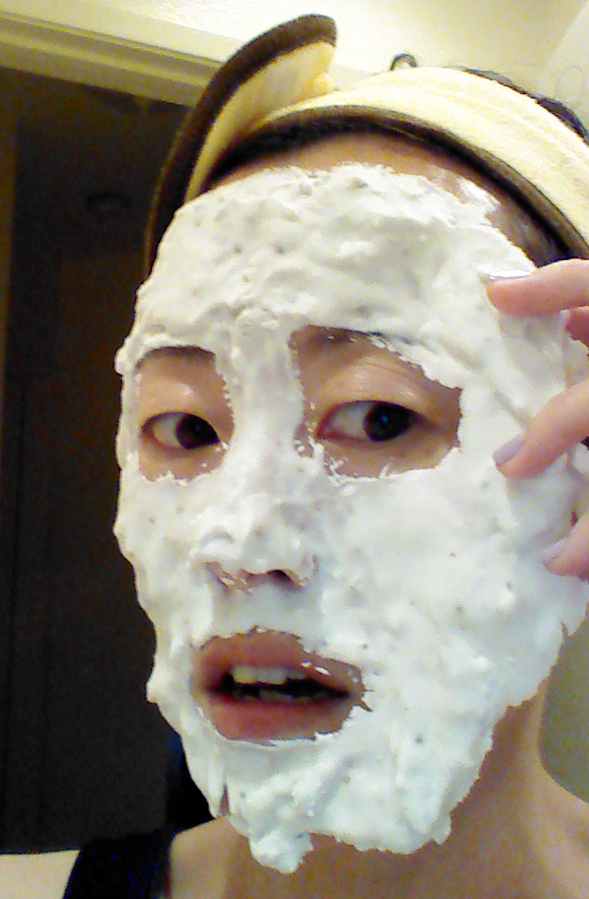
As I started to peel the mask off, I had a scary moment where I became convinced it was going to take my eyebrows off with it. I don’t have a lot of eyebrow to spare, so that would be a very bad thing. Fortunately, my eyebrows survived.
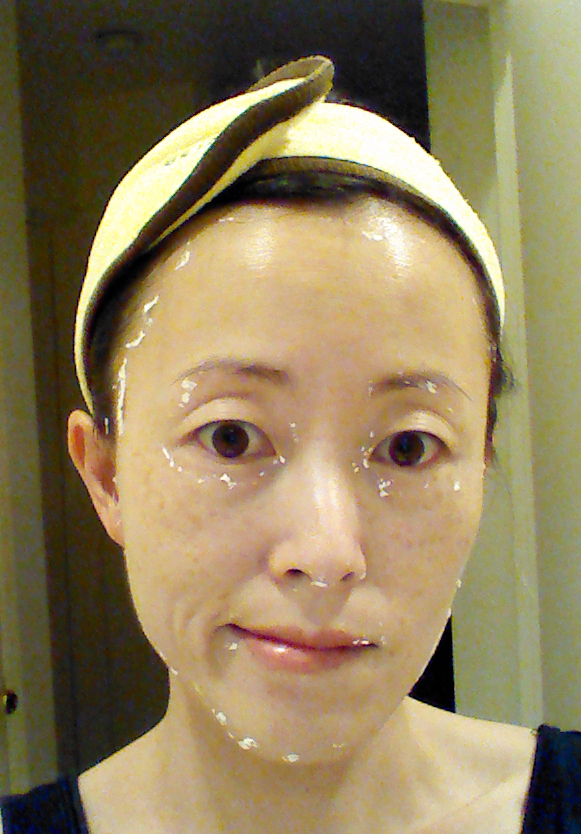
The instructions on Glow Recipe’s product pages for the modeling masks are pretty clear about applying it thickly. See all those little white flecks on my face? That’s why. When you apply it thickly, it all hardens together and peels off cleanly, but any areas that were too thin will stay behind. It’s nothing that a quick rinse with tepid water won’t wash off, though. I didn’t even have to scrub with my konjac sponge.

And here are the results! It may not be as noticeable in the photo because I am a truly awful photographer, but in person, I was more than a little impressed. My skin looked much brighter and very very clean. My pores had become amazingly clear. I felt radiant, even without a speck of makeup on. And despite its pore-purifying powers, the modeling mask didn’t dry out my skin at all.

My face felt smooth and soft to the touch, not as plumply hydrated as it would have been after a sheet mask, but remarkably nourished and calm.
Here’s a before-and-after so you can compare.
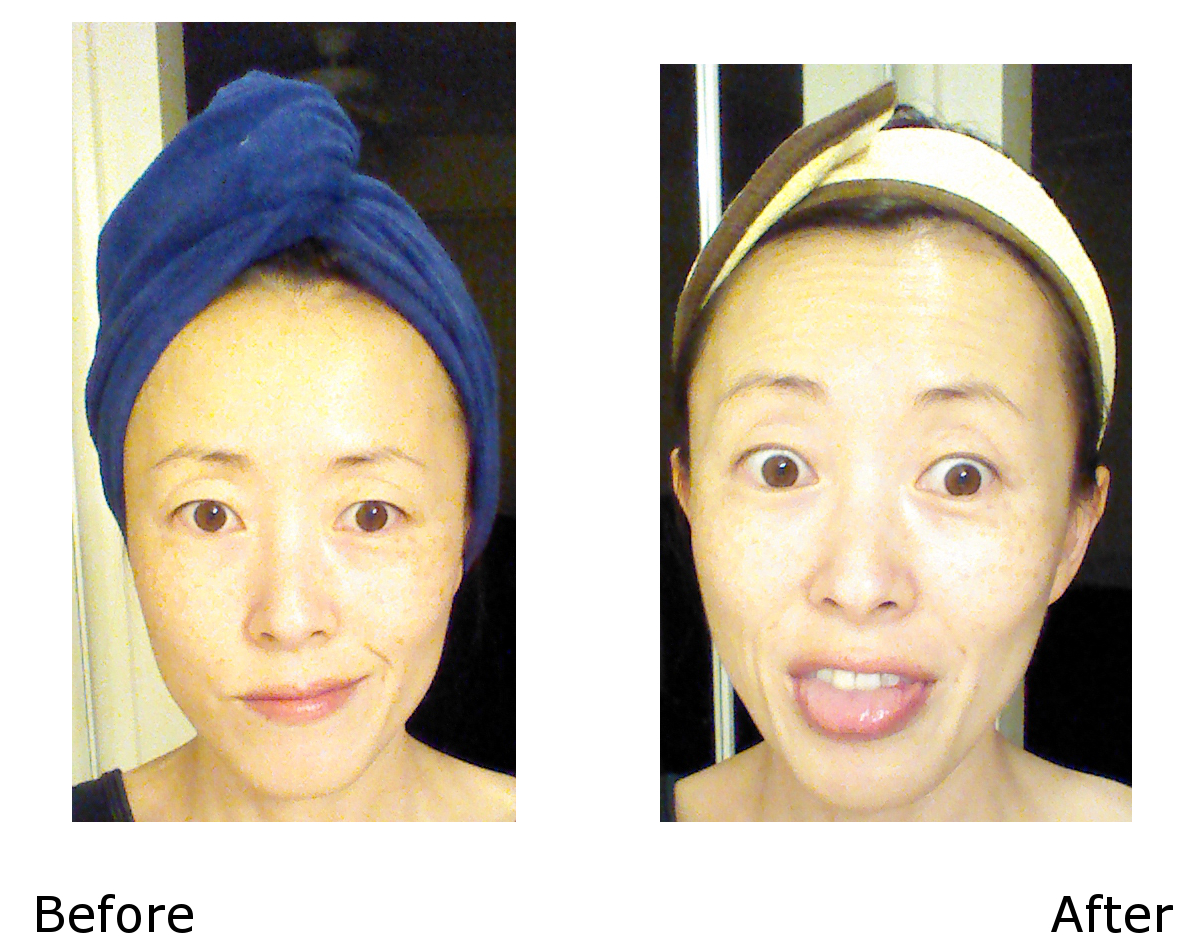
I’m really happy with what the mask did for me. In addition, all the skincare products that I applied afterwards sank in super quickly and thoroughly, and I woke up velvety soft again the next day. A few days ago, I also used the Vitamin version of this mask, with the same results.
Conclusion: These masks are amazingly multifunctional. For brightening, calming, and soothing the skin, they’re on par with the best sheet masks or hydrogel masks. They combine that goodness with the clarifying effect of a clay mask and lift off some dead skin cells as well. My only complaint is that the modeling masks are a little bit labor-intensive compared to most other home facials. I don’t think I’d do these frequently, both because of the work and the potential mess involved. A drip of the second mask seems to have permanently stained the shirt I was wearing that day. (It was one of my schlubby home shirts anyway, so no loss, but definitely don’t wear a nice top when you use a modeling mask.) The bottom line is that these are not only unusual but effective. I’m planning to acquire a few more for special occasions or certain moods.
Rating: 4.5/5
Rating scale:
Where can I buy Lindsay Modeling Masks?
Currently, Glow Recipe is selling sets of Lindsay Modeling Masks for $10.00 for 2 masks or $13.00 for 3. Glow Recipe also sells the masks individually for $6.00 apiece for the following varieties:
- Collagen
- Pearl
- Cool (I bet this would be amazing on a very hot summer night)
- Lavender (so far, my favorite)
- Vitamin (also excellent; FYI this one turns orange when mixed, so don’t get scared)
Have you used a modeling mask yet?

*giggle-giggle-giggle-giggle!* The results were lovely. This seems like a really fun thing to do during a girls’ night drunken facial party. Then again, it might scare away the strippers….
LikeLiked by 1 person
Or the strippers might join in!
LikeLiked by 1 person
Yes! I’ve tried the collagen one and loved it! My husband tried the vitamin one (I have him hooked on sheet masks and eye patches and nose strips and now this modeling mask)! We both loved the results – super soft skin and easy absorption of next serums!
LikeLiked by 1 person
The strippers can buy their own masks!! They make more money than we do!!
LikeLiked by 2 people
Ive I’ve had one in the cupboard for ages just have not got around to using it. I should dig it out and give it a try.
LikeLiked by 1 person
I’ve never tried, but I’ll be getting the Shangpree gold modeling mask in the Peach & Lily Seoulcialite box. I’m excited but also not because this seems like a lot of work.
LikeLiked by 1 person
Hahaha. It’s not really that much work. I’m just spoiled because I’m used to a mask experience that goes “rip open packet, put on face, take off and move on.”
LikeLike
Me too. Exactly why this is too much work ☺️ Actually I’m glad you mentioned that the stragglers rinse off easily. The scrubbing is the worst part about wash-off masks.
LikeLiked by 1 person
Yeah, I definitely do not miss washing off clay masks. Especially Innisfree’s. What a great mask, but it’s such a chore trying to get it all off, especially out of places like the sides of my nose or between my eyes.
LikeLiked by 1 person
I think the Shangpree one has it’s own activating gel or some such to add rather than water. It will be interesting to hear everyone’s views on that – I missed out on getting the box as I’d totally forgotten it was coming out!
LikeLiked by 1 person
I’m excited for the box. I wasn’t that into the first Seocialite box, but the inclusion of the Shangpree already makes it a great value.
LikeLiked by 2 people
I was teetering on getting this , now seeing this I am hooked. The price is pretty good too.
LikeLiked by 1 person
They’re pretty fun! Another commenter had a great idea about using them for drunk girls’ night!
LikeLiked by 1 person
I’d ordered these from Glow Recipe a couple of weeks ago and decided to use one to pamper myself last night. I mixed up the vitamin one, but apparently I added too much water, as it was really thin and kept running down my face. My shirt and the towel I used to cover my shirt are now stained orange. When it became clear that the mask wasn’t salvageable and that any more attempts to put it on my face would result in my bathroom turning orange, I dumped it down the toilet, scrubbed my face clean, and opened my second one (collagen), determined not to be foiled by a mask. (And yes, I lamented the money I literally dumped down the drain.) Second time around I got the water ratio right, but like you, I found the spatula insufficient for applying the mask to my face. Once it all was on it was fine, but when I removed it, there were lots of pesky bits still stuck, and water wasn’t enough to remove them. I personally won’t order these again–I’m happy to have a facialist put them on me, but it’s not worth the trouble to me to do it myself. My relaxing evening ended up stressful, and like I said, now I have a pile of orange laundry awaiting me. I’ll document this as skincare folly #437…
LikeLiked by 2 people
I bought several of the modeling mask.After reading this I realized I’m that friend who tries things for the sake of trying. BTW, your skin looks awesome before and after
LikeLiked by 1 person
ahahaha! Thank you and did you enjoy the masks? I’ve been using modeling masks a lot lately!
LikeLiked by 1 person
I have not applied it yet I am going through a sheet mask series but I’m glad I didn’t since I read to put a serum underneath
LikeLiked by 1 person
Yes! They “bake in” whatever you put underneath so well. Lately I like to use them after all of my essence and serum steps, immediately before sheet mask. So the modeling mask bakes in all my hydrating and treatment steps, clarifies my skin, and gets it really nice and ready for the sheet mask. You get incredible results that way. Enjoy!
LikeLiked by 1 person
So, I got three of these from GlowRecipe during my “I got a quarterly bonus and a spare paycheck, so I’mma haul me some goodies” haul. I was really glad to have the Lavender one yesterday because I had a genuinely lousy experience with a mud mask that left me stinging and squeaky. I was less glad after I decided that using very warm water couldn’t possibly hurt because I turned what was supposed to be a soothing rescue mask into a bunch of congealed glop that I had to just toss. >_< I tried the Gold mask today, using much colder water, and of course, no problems. No problems at all, especially since I made sure to come here and look for some tricks I might've missed. I'll be grabbing more of these in the future and using them for weekend fun. Looking forward to trying them before a sheet mask instead of immediately after a washed face.
TL;DR: Don't use warm or hot water to mix these. You will have a sad.
LikeLiked by 1 person
That face off reference though:)
LikeLike
Sooo…..I’m a little late to this ballgame but I do have a few pointers for anyone needing assistance with these lovely rubber masks:
1) The water marker inside the cup is meant to measure the amount of water when the cup is EMPTY (meaning dump the powder into another container, measure water in the packaging cup, add the powder to the water. Doing this vice versa will ruin the consistency of the mask making it all lumpy and unspreadable!)
2) COLD WATER! Using cold water is the only way to go ( I imagine room temperature would work, but cold water is definitely the best) Measure the cold water directly in the empty packaging cup to get the proper amount.
3) Stir like crazy! (after you ADD THE POWDER TO THE WATER, stir like a mad scientist until you get that nice smooth consistency. Maniacal laughter optional.)
4) Apply it quickly to avoid the lumpiness. (in order of: cheek, bridge of nose, forehead. In upwards strokes to the hairline)
5) Keep it thick and even to ensure easiest removal. (remove mask residue with warm water or a cotton pad soaked in toner)
Hope this helps any newcomers or anyone willing to give these exciting masks a second shot!
LikeLike